
A Full-Service Sewing Center
Fully Authorized BERNINA, Bernette, Husqvarna Viking & Singer sewing machine dealer, fabric, notions, accessories, repairs and so much more.

Sewing Machine
|
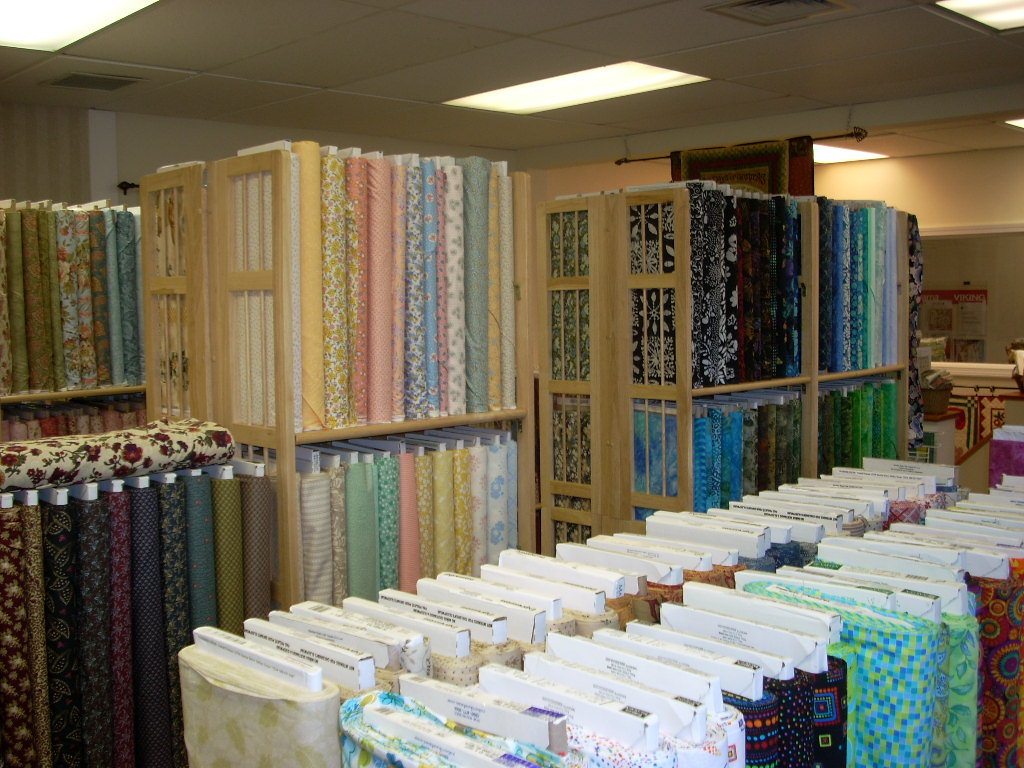
Notions & FabricsThousands of bolts of fabrics from Cottons to Silks and Satin. Sewing notions, threads, interfacing and more. All at one convenient shop.
|
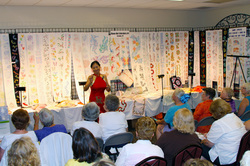
ClassesLocated on our lower level we have a full classroom, with easy access to the side parking lot (no stairs). We offer a range of open-sew, club and specialty classes.
|